Here is an old post from our former blog!
Our designs are customized versions of the furniture and projects on AnaWhite.com (sometimes Shanty2Chic.com collaborates as well) please visit her site, it is a GREAT resource!
Building tables is a fun exercise in patience. When you think you finally have your tools and project figured out, you find something that makes your job so much easier. Sigh... if only I had unlimited funds!
The first thing you must do, is pick great lumber. I get mine locally and have come to understand that good wood is hard to come by (here comes the laugh track). First and foremost, pick boards that are straight and flat! Check them at the store by eye and by laying them on the ground. If they rock, put them back!
We believe that choosing your tools should be based first on utility (no single use tools for us) and second on adaptibility (we favor Ryobi since they have so many affordable tools). BUT I'll never turn down a great deal on a used tool if it is in great condition (example-- I just bought
this Ridgid reciprocating saw for $40!).
The links below are Amazon Affiliate links-- if you purchase through the links, we get a small percentage that helps us keep writing and creating for you!
Without further ado, here are our MUST HAVE tools:
Some people prefer the smaller alternative Kreg Jigs (truth be told, we purchased the
R3 Mini Jig first) but for our work with large scale wood--
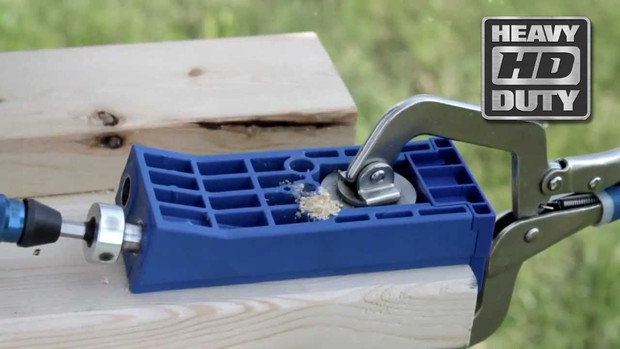
nothing beats the HD. We've found that anthing 2x or larger (2x2, 2x4, 4x4, etc.) the HD gives us a solid contact and really helps pull the wood together. A word of caution though:
the screws are expensive and
strong. I've pulled 2x10 lumber apart (see above for warping comment) with these screws. The drill bit gets quite dull over time since it is drilling such large holes. Plan to buy a new one by your fourth project.
Alternative: I've used the
Kreg R3 for many tables and find it works just fine for 2x+ lumber. The joints and screws aren't as strong though. The R3 is smaller and easier to get into smaller spaces. Consider the HD an upgrade!
Amazon links:
Kreg HD Jig
Kreg R3
Kreg HD Screws (125)
I had no idea how much I needed
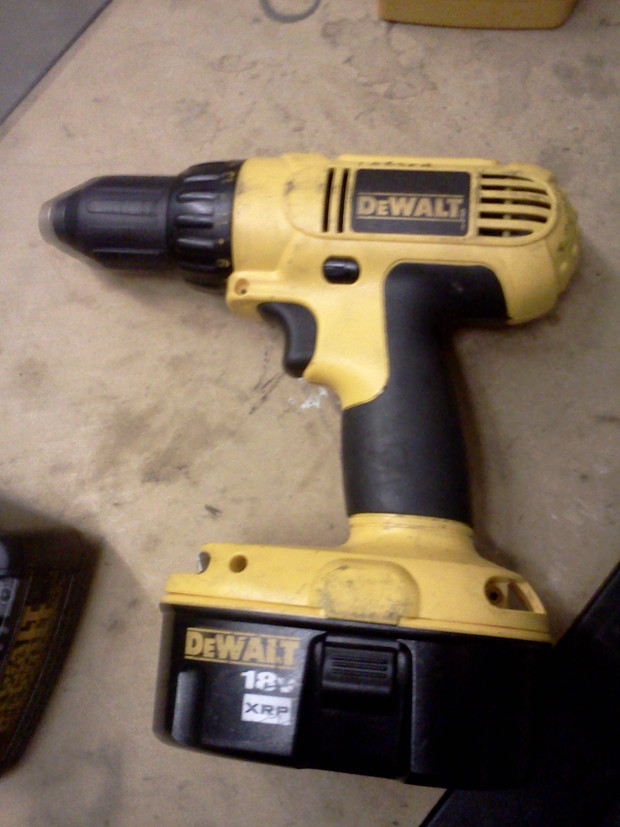
this in my life. For my first 20 projects I used a nice Dewalt drill (see below) to drive all of my screws. The drill would torque my wrist on tough screws and kill my shoulders with the force I had to give to each drive. No more! I got
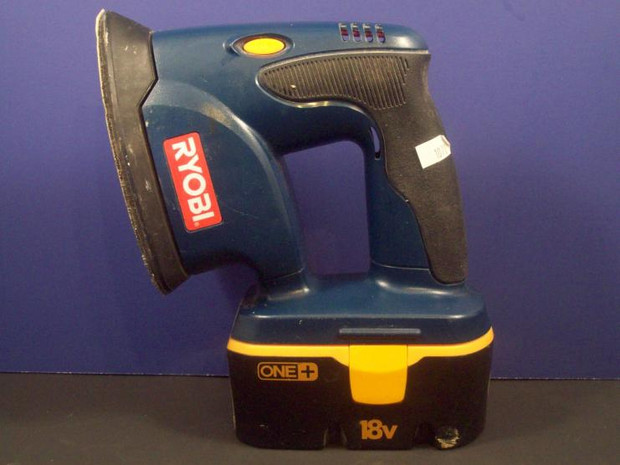
this Ryobi impact driver and worked on two tables and benches with it last weekend. I couldn't believe the difference it made. No wrist torque or shoulder fatigue! It is heavier than my drill, but I'm happy to report that the weight difference didn't make me as tired as needing to push on the drill to drive the screws. Full thumbs up!
*I bought the older one since it also came with two batteries, the difference in the two is a little torque and led lights--those weren't important to me.
Amazon link:
Ryobi Impact Driver
Ok-- sorry Ryobi. I have the Ryobi Drill/Driver and it does not come close to my
old tried and true Dewalt for power. This is what I use to drill my Kreg HD pocket holes on all of my table projects. No, I haven't upgraded my Dewalt to 20v or lithium yet. I need to, but I have other tools I want to purchase!
Amazon link:
Dewalt 18v Drill and Driver
MLXLS
Believe it or not, I found
this beauty for $5 at Goodwill (not my sander in the picture, thanks Google!). I use this to finish all of my products. I start with 80 grit sand paper and work my way up to 220 for the final sanding. I prefer 3M sandpaper.
Amazon links:
MLXLS =
=
I'm actually due for an upgrade on my miter saw. I'd like a pull through Dewalt (I've heard great things about their accuracy) but I'm currently using a Black and Decker 10" miter saw. The
Diablo blades in the "ultra finish" take my so-so saw into the pretty-good range. I have used
these blades from Dewalt in the past and have had good luck, but the finish of the blade requires a little more sanding. Less sanding=winning.
Amazon links (make sure the sizes will fit your saw!):
Kreg LARGE Clamp

I might have framed this post as the best put first and last. This is the
LARGE version of the popular Kreg clamp. I love this because I work with a lot of 2x+ lumber (any 2x and up!) with my furniture. This is a
secure clamp and works with one hand--sometimes I get hulk strength when tightening and have to use two hands though. Sure secure and works well with both Kreg jigs I have. Love
this clamp. You can never have enough clamps!
Before I used this clamp, I used
something like this. I didn't like it as much, but I didn't know any better until I tried the Kreg clamp.
Amazon links:


 =
=